Getting Glass Annealing Right: The Secret is in the Heat
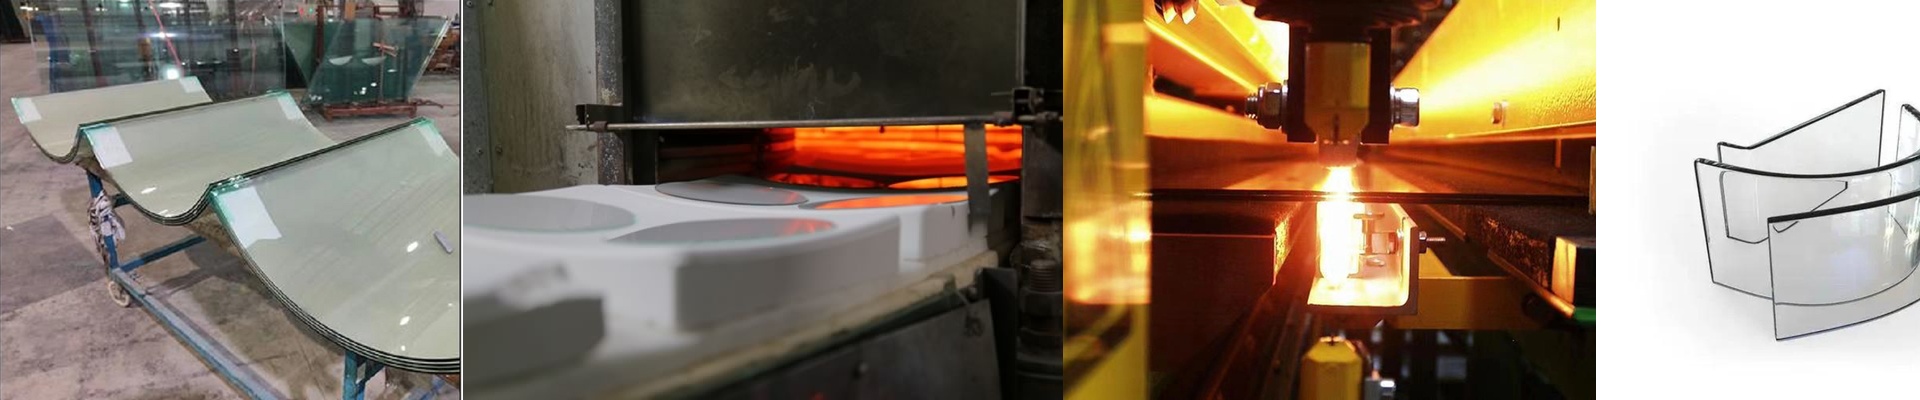
Ever had a piece of lab glass or a delicate bit of jewelry just… shatter? It’s frustrating. Usually, it happens because of internal stress. If those stresses aren’t neutralized, the glass is basically a ticking time bomb. That’s why we use short-wave infrared lamps. The goal is simple: keep the glass right at its annealing point. You want it warm enough that the internal tension can relax, but not so hot that the whole thing starts to sag and lose its shape.
Why we obsess over 0.1°C
In the world of lab-grade glass, a 2°C swing is a huge deal. It’s the difference between a perfect vessel and one with “frozen-in” tension that’ll eventually crack. We push our infrared elements to 0.1°C precision because the window we’re working with is tiny. If the lamp overshoots, your geometry is ruined. If it undershoots, you’ve still got stress in the walls. To stop that from happening, we pair the lamps with high-speed PID controllers. It just keeps the heat steady and even across the entire surface.
Handling the heat
We go with quartz-halogen tech. Why? Because it gets us the heat density we need to ramp up quickly. Instead of just heating the air around the glass, this energy actually penetrates the surface. But you have to be careful with your power density. High-wattage lamps are great, but if they’re too close, you’ll get “hot spots.” It’s all about the distance. We calculate a specific standoff distance so the thermal profile stays uniform.
The catch (and how to fix it)
Here’s the thing: this kind of precision isn’t free. To keep that 0.1°C stability, your power supply has to be clean. If you’ve got voltage spikes, the filament temperature will jump around, and your tolerances go right out the window. You’ll need to wire this into a stabilized power circuit. If your shop floor power is “noisy,” you’re going to see that instability in your glass. It’s a small detail, but it makes all the difference.